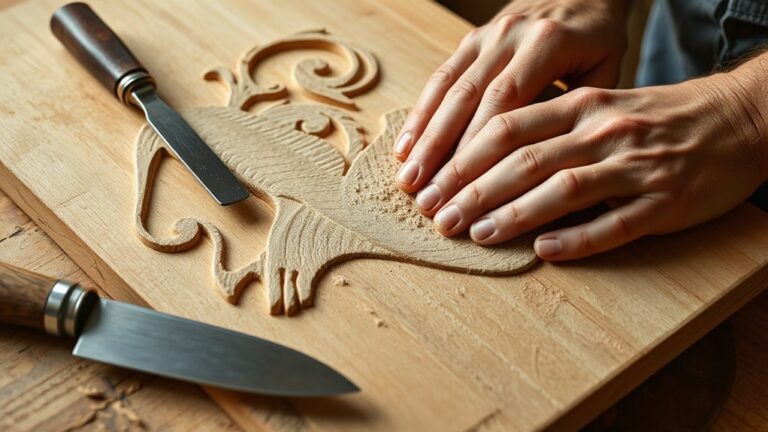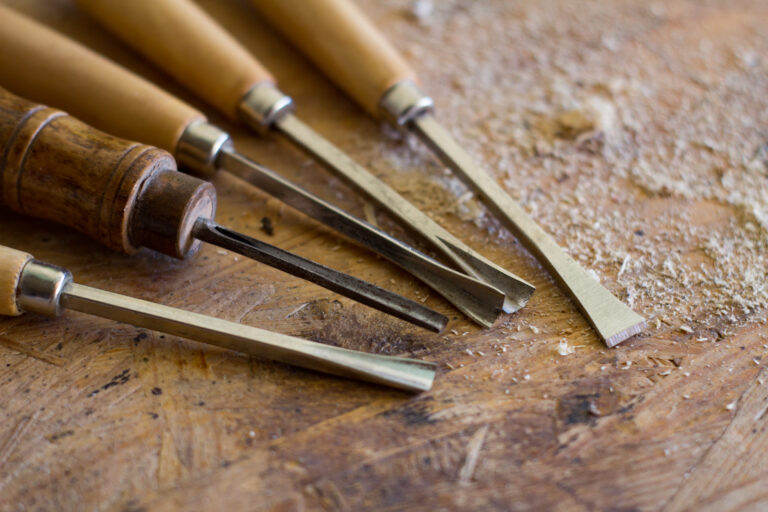
Safety Practices for Novices: safety first makes carving fun and easy, so you respect tools and keep your hands safe.
Put on snug gloves and eye protection, clamp the wood, and keep blades sharp.
Always cut away from your body, practice on scrap, and take light, controlled passes.
When you stop, stretch and reset, so fatigue stays out of your hands and mind.
Master the four basic cuts, use a vise, and you will feel confident starting your project.
Ready to start safely and see how far your carving can go?
Prep Your Gear for Safe Carving

Prep Your Gear for Safe Carving
Before you start carving, gear up with the basics to stay safe and confident. First, choose glove types that fit your hand snugly and protect your fingers from slips. Have eye protection ready, because flying chips love to surprise you. Soft cotton under gloves helps reduce sweat, while sturdy sleeves keep wrists safe. Check tools for burrs and dull edges, then sharpen or replace them before touching wood. Set up a clean, well-lit space with a stable work surface. Gradually add safety steps, like clamps and a dust mask, as you learn. Carving becomes more fun and safe each day. A leather strop is essential for maintaining sharpness between sharpenings, as high carbon steel blades retain their edge longer when properly maintained. For beginners, starting with a single, quality fixed-blade knife ensures better tool control and reduces the risk of accidents.
Secure Your Wood Before You Cut
To keep your project safe, secure the wood firmly before you make any cuts. Start by selecting flat, stable pieces and removing loose knots. Use simple clamping methods, such as a small C-clamp on a bench edge or a pair of spring clamps to hold ends steady. Position the wood so your hands stay clear of the blade, and test the grip with a light pull.
If a piece tilts, explore vise options, such as a woodworking vise with protective jaws or a bench vise. Check for movement, then cut with confidence and enjoy the process. Stay focused and patient. For beginners, choosing a soft, easy-to-carve wood like basswood can reduce resistance and improve control during early carving attempts. Proper wood selection enhances safety by minimizing tool slippage and tear-out, especially when working with tight, consistent grain.
Master Four Basic Carving Cuts Safely

As you learn the four basic carving cuts, stay focused and put safety first. Start with the correct angle and cut direction for each move, then smooth the blade to prevent slips. Practice with light pressure and steady hands, using blade control to guide shallow passes. Remember to cut away from your body, keep clamps secure, and check your grip after every cut. Use small practice pieces to build confidence before tackling real projects, and celebrate small wins as you grow. Keep sessions short, stay mindful, and ask a peer if something feels unclear. Carving becomes enjoyable, safe, and satisfying.
Create a Focused, Fatigue-Free Carving Space
From the four basic cuts you just practiced, you’ll set up a focused carving space that keeps you safe and energized. You’ll arrange lighting so the work surface shines without glare, and you’ll check your posture before starting each cut. Keep tools within easy reach on a clean, sturdy table, and clamp the wood for stability. Take short, calm breaths, take breaks, and adjust seating if you feel fatigue creeping in. Use a comfortable chair, align your hips with the table, and keep wrists relaxed to protect your posture. Remember, practice slowly, stay curious, and enjoy creating each project today.
Frequently Asked Questions
How Do I Identify a Comfortable Carving Posture Without Strain?
Sit with chair height adjusted so your feet are flat and your knees are at hip level. Keep your wrists in a neutral alignment to avoid bending strain. Maintain good posture, take breaks, and switch positions to keep muscles relaxed.
What PPE Essentials for Long Practice Sessions Beyond Basics?
Prioritize personal protective equipment (PPE) for extended practice sessions. Wear cut-resistant gloves on your non-dominant hand, safety glasses, and consider a face shield for dusty tasks. Add a dust mask when sanding to protect your lungs.
How Often Should I Replace Dull Tools to Prevent Accidents?
Replace dull tools promptly when sharpening no longer restores a clean cut. If sharpening cannot bring back a clean edge, stop using the tool. Regularly inspect for damage and replace tools at the first signs of nicks, chips, cracks, or a wobbly edge. For safety, avoid using tools that feel dull or perform poorly, and set replacement triggers based on performance and visible wear rather than a fixed interval.
Are Power Tools Allowed in Beginner Carving Under Safety Rules?
Yes, power tools are allowed for beginners when you follow safety rules. Focus on selecting appropriate tools, controlling motor speed, using clamps, wearing safety goggles and a dust mask, keeping hands clear, practicing controlled cuts, and not rushing.
How Can I Prevent Fatigue Without Reducing Practice Time?
To prevent fatigue while maintaining practice time, try these strategies:
- Include short microbreaks and stay hydrated
- Alternate between lighter and more focused practice segments
- Stretch wrists and shoulders regularly
- Maintain good posture during sessions
- Pace yourself and adjust intensity based on fatigue cues you notice
These steps help you manage energy without reducing total practice time.
Conclusion
You can start carving with confidence by prepping gear and securing your wood, friend. Keep gloves snug and eye protection on, then clamp the board firmly so it won’t move. Practice four basic cuts on scrap first, using smooth, light motions and cutting away from your body. Take breaks to stay sharp, clean tools with a strop, and stay focused in a safe space. Carving is fun when safety comes first, and progress will follow.