Understanding Wood Grain Direction.
You want cleaner cuts, so start by spotting the grain and feeding with it, not against it, and test a small area first to see how it behaves.
Look at edges, feel the surface for fiber direction, note runout, and know end grain will act different.
Use light passes and adjust your tool angle for less tearout, then keep practicing on scraps until the feel clicks, you’ll be surprised how small shifts make big gains, and you’ll want to try more.
How to Read Wood Grain Direction

Reading wood grain may seem tricky at first, but it’s a skill you can master. Look for visual cues that indicate the grain direction and fiber orientation to plan cuts.
Inspect edges and faces for irregularities or straight lines, and run your hand along the board to feel the grain. Revealing the true surface, rather than just the clean, sawn edge, helps. When you map grain in different spots, you’ll notice twists and curves, which makes projects safer and smoother. Practice today, friend. Woods with straight grain minimize tearing and make carving easier, especially for beginners working with softer species like basswood.
Decide the Cutting Direction for Cleanest Results
Choosing the right cutting direction is key to clean, smooth woodwork you can be proud of. Start by feeding with the grain and avoid climb cuts when you want clean edges. If you need the smoothest surface, limit tear-out and use careful climb cutting on the final pass. Always test a small area first, then adjust feed direction based on the grain pattern. Keep a steady hand, take light passes, and you’ll speed up progress with better, friendlier cuts. Feed direction matters more on rough boards, while climb cutting can help with end grain for a smoother finish. Practice, measure, and enjoy the craft. Understanding the natural grain direction is essential for preventing tearouts and achieving clean, detailed cuts, especially in hardwoods like walnut and cherry.
Practical Techniques for Cutting With the Grain by Tool

When you cut with the grain, you’ll get smoother cuts and fewer catches. Keep your tools steady and think about how each tool behaves in real work. Bit direction guides your feed, so you push with the grain and avoid quick grabs. On a plane, adjust your plane angle to stay light and smooth, not deep, so fibers lay down instead of lifting. Use shallow passes, and take small bites across the length to reduce tearout. Practice on scrap wood, celebrate tiny gains, and soon cutting with the grain feels natural and fun. Keep practicing, stay curious, share tips. A consistent tight, consistent grain makes it easier to predict how the wood will respond to each cut.
Understand End Grain and Runout Before You Cut
Before you cut, check end grain and runout so your slices stay clean and true. Read grain patterns from several spots, not just one face, to see how the wood will behave. Remember that fiber orientation guides your tool, move with the wood, not against it. Look for end-grain changes where fibers run differently, and test with a light pass to feel the bite. Keep your cuts steady, and adjust your feed so you follow the grain rather than fight it. With practice, these checks become quick habits and make projects more enjoyable.
A Step-by-Step Workflow for Smoother Cuts
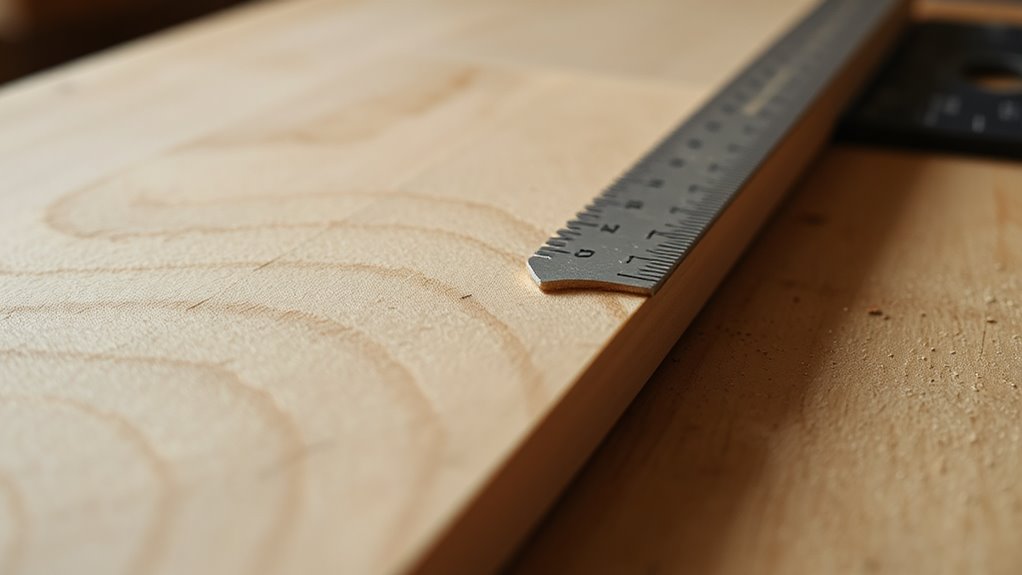
To achieve smoother cuts, begin with a quick grain check and plan your pass. This sets up success and boosts your confidence. Your workflow improves when you map each cut, confirm grain direction, and choose the right tool first. Start with light passes, then refine, and finish with a final shallow pass across the grain. Mark a pencil line to guide feed direction, especially on jointer or planer tasks. Move steadily, breathe, and stay patient, good habits save time. Practice on scrap wood and celebrate small improvements with each project. You’ve got this, friend.
Frequently Asked Questions
How Does Grain Orientation Affect Glue Joints and Wood Stability?
Grain orientation affects glue joints and wood stability: when fibers run with the load, glue joints grip better; against the grain, strength drops and seasonal movement increases, risking gaps and cracks. Plan grain orientation in your design.
Can Humidity Change Apparent Grain Direction After Planing?
Yes, humidity can alter the apparent grain direction after planing. As moisture content changes, boards swell or shrink, making the grain look different until it reaches equilibrium; you may notice subtle shifts as boards equilibrate with ambient humidity over time.
Do Irregular Boards Confuse Grain Reading for Beginners?
Yes, irregular boards can confuse grain reading because warping and twisting scramble grain lines. You should test multiple areas, account for bends, and plane carefully to keep cuts aligned with true grain.
What Are Signs of False Grain From Milling Marks?
Signs of false grain from milling marks include waviness, uneven color, shear deformation around fibers, and chatter marks along the edges, indicating cut-direction mismatches and fiber tearing rather than true grain.
How Does Figure or Spalting Affect Planing Direction Choice?
Figure or spalting draws attention to grain path irregularities, guiding planing direction. Plan cuts along the visible figure to maximize shear stability and minimize tearout. Where possible, follow the grain, adjusting for spalting.
Conclusion
Knowing how to spot grain helps you make cleaner cuts, so give it a try. Start with gentle passes, feed with the grain, and test a scrap first to build confidence. Watch for end grain and runout, adjust your angles, and keep the tool light. Practice on scrap wood and celebrate small wins, because patience makes cleaner cuts feel natural. With steady effort, this hobby stays fun, safe, and totally doable for beginners like you.