Tool Sharpening Techniques can help you keep your carving tools razor sharp by following a simple plan: start with a coarse stone to shape the edge, then move to a finer stone to polish it, and finally strop often to keep it keen.
Maintain a steady bevel, oil the tool, and test on scrap wood.
Gouges and V-tools need inner and outer bevels. It’s practical and satisfying, and there’s learning, and you’ll see why as you try the next step.
How to Sharpen Carving Tools: Master Techniques

Sharpening carving tools is a skill you can learn quickly, and it makes wood work so satisfying. To start, pick a coarse stone and hold your tool steady, then push and pull with even pressure. Next, switch to a fine stone for a sharp edge, and keep the polishing light. Remember to check your steel hardness, angle guides, and adjust pressure as you go, avoiding gouges. Use angle guides to keep bevels consistent through every stroke, and aim for small, clean burrs. Practice on wood, stay patient, and improve daily. Carving grows easier with a simple routine and steady curiosity each day. Frequent stropping every 15-20 minutes maintains blade keenness and enhances both control and safety during carving sessions.
Step-by-Step: Coarse-to-Fine Sharpening for Carving Tools
If you’re just starting, use a coarse stone first to shape the edge, then switch to a fine stone for a polished bevel. Keep the pressure light and the strokes steady, and you’ll feel progress quickly. Stone selection matters, the right stone type helps you achieve a smooth, durable edge on your carving tools. Check angle consistency as you work, keeping the same bevel along the edge. Finish by testing on scrap wood, then repeat the steps as needed until the edge cuts cleanly with minimal effort. You’ve got this, enjoy the process today. Working with softer woods like basswood can make it easier to detect when your tools are truly sharp, as clean cuts require a razor-sharp edge.
Honing and Stropping for Razor-Sharp Edges
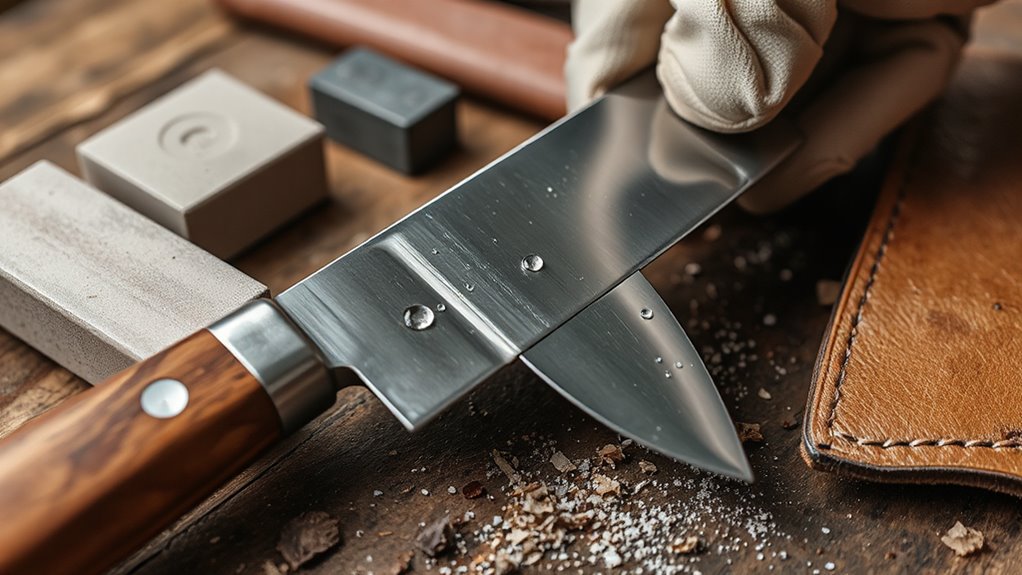
When you hone and strop, you turn a sharp edge into a razor with steady focus. You gently dry the blade, apply a light compound, and glide it across the strop with smooth, deliberate pulls. Choose leather that feels firm yet forgiving, and keep the angle steady as you move. Test on pine scraps, then adjust the pressure to refine tiny burrs. Remember to clean the leather after use, and store your kit with care. This simple routine makes carving feel effortless, fun, and satisfying every time you cut clean, precise shavings that stay sharp for days. A well-maintained leather strop is essential for preserving edge sharpness between sharpening sessions.
Gouges and V-Tools: Sharpening Inside and Outside Bevels
Gaining control of gouges and V-tools means sharpening both inside and outside bevels with care. Use flat stones and small, precise motions to keep edges true. Flute honing helps treat the inside curves without altering the outside bevels. For V-tools, sharpen four bevels with patient back-and-forth strokes. Keep interior angles consistent, and test by making a gentle wood cut. Maintain a light touch, stop before you feel heat, and wipe dust often. With practice, burrs disappear and your tools glide, turning carving into joy. Share tips with friends, and celebrate sharp victories together.
Maintenance Tricks to Prevent Dulling

Keep your edge sharp by staying proactive and keeping your workspace tidy, so carving stays fun. Dull blades are prevented by a simple routine, not by hoping it lasts. Regular stropping keeps the edge polished between sessions, and selecting the right oil helps the stone glide smoothly. Wipe tools dry after use, store them safely, and avoid banging blades against metal shelves. Use light pressure and steady passes on coarse stones, then finish with fine grit. Clean up chips, label oils, and schedule small touch-ups weekly. This keeps carving joyful, predictable, and safe for beginners and seasoned hands alike on every session.
Troubleshooting Common Sharpening Issues
Sometimes you’ll notice burrs, uneven edges, or blades slipping back to dull after a few strokes, and that’s totally fixable. First, check angle consistency and smooth any burrs with careful burr-removal steps, then reestablish a steady edge. When you sharpen, use light pressure and keep strokes even on both sides to avoid catching or rounding the edge. If the edge feels snaggy, switch to a coarser stone briefly, then return to a fine stone to polish the line. Keep your tools cool with short sharpening sessions and a splash of water, especially on high-grit sharpening. The results will be great.
Frequently Asked Questions
How to Identify the Right Steel Hardness for Sharpening?
Use Rockwell hardness scales to match steel types with your edge needs. Harder isn’t always better, aim for a balance of wear resistance and toughness. Verify hardness with scratch tests and reference charts.
What’s the Best Storage Method to Prevent Rust?
Store your tools in a dry, well-ventilated cabinet and apply an oil coating to blades. Place silica gel packs to absorb moisture and prevent rust. Keep tools sealed, away from humidity, and inspect them regularly.
Do Sharpening Techniques Vary for Laminated Vs Tool Steel?
Yes, sharpening techniques vary between laminated steel and tool steel. You should consider the steel composition and adjust your grit selection accordingly, using finer grits for laminates and coarser grits for tougher steels, while maintaining consistent angles and pressure.
How to Restore a Chipped Edge Quickly?
To restore a chipped edge quickly, do a field repair with a coarse stone to reset the bevel, then finish on a fine stone and a leather strop. This quick fix does not replace proper sharpening as a long-term practice.
Can I Sharpen Tools Without Lubricants?
Yes, you can sharpen tools without lubricants, but it’s tougher on the edge. Use dry grinding cautiously; keep stones cool, and finish with polishing to achieve a fine, smooth edge you can rely on in practice.
Conclusion
You can make carving enjoyable and easy by practicing regularly and staying patient. Start with a coarse stone, then finish with a fine one, and always test on scrap wood so you know you’re on the right track. Stay steady, maintain a comfortable angle, and keep stropping every now and then to keep your edge keen. With regular maintenance and smart tools, you’ll carve confidently, achieve great results, and have fun during each session.